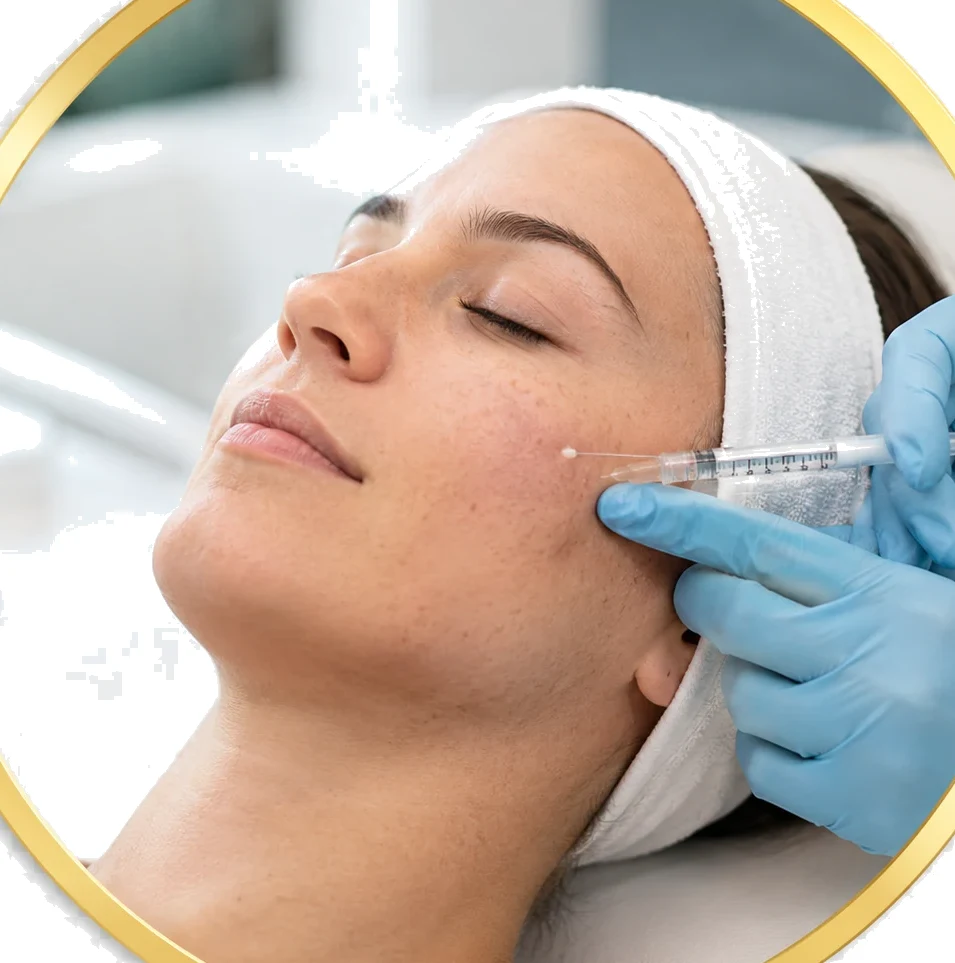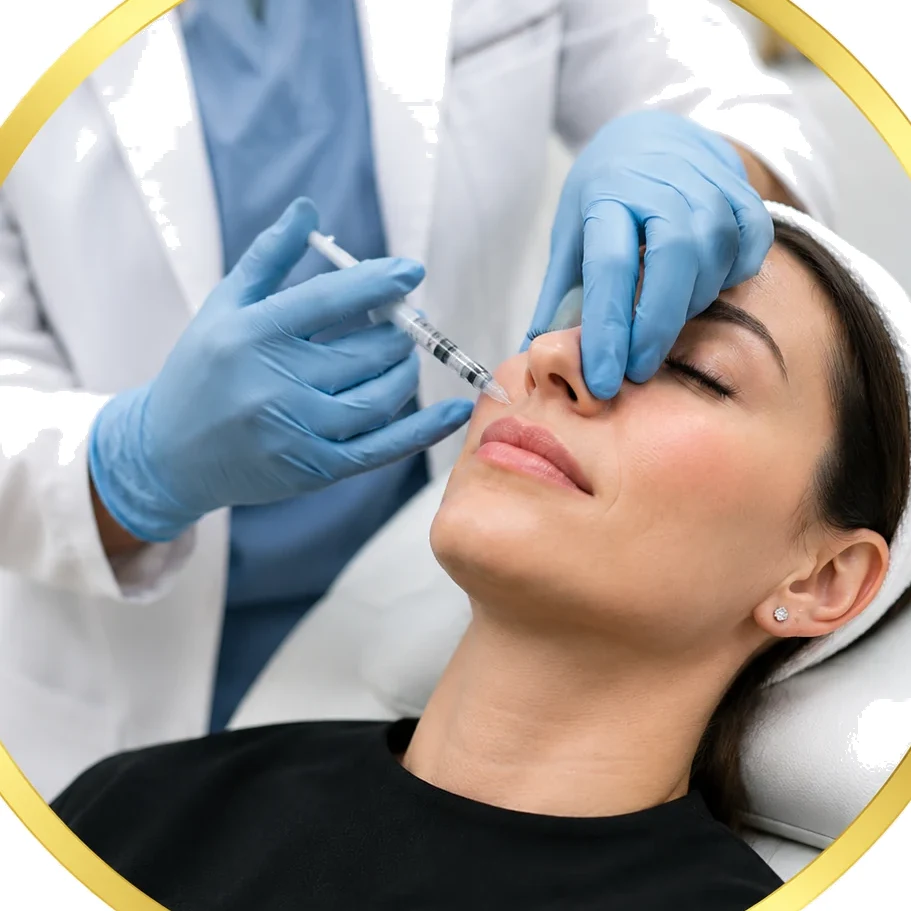

For most facial areas, a natural result requires between 0.5 ml and 3 ml of dermal filler, depending on the site, your anatomy, and the degree of change you want. Lips typically need 0.5–1 ml per session. Tear troughs are usually treated with 0.5–1 ml total. Cheeks, jawline, and temples may call for 1–3 ml across one or two sessions. The single most important principle in any filler amount guide is this: start with the smallest effective volume, assess the result, and top up rather than overcorrect in one sitting.
Before booking any treatment, three steps matter most:
- Ask your practitioner about their qualifications and GMC registration.
- Confirm that hyaluronidase (the dissolving agent) is available on site.
- Plan staged sessions rather than requesting maximum volume at once.
Pro Tip: Book a follow-up appointment two weeks after your first session before deciding whether you need more product. Swelling distorts the result for several days, and what looks like "not enough" on day three often looks exactly right by day fourteen.
Key takeaways
Natural, balanced filler results depend on conservative per-area volumes, staged treatment sessions, and a medically qualified practitioner with hyaluronidase available on site.
| Point | Details |
|---|---|
| Start with less | Most areas need 0.5–1 ml to start; assess at two weeks before adding more. |
| Know your area ranges | Lips 0.5–1 ml; cheeks 1–3 ml; tear troughs 0.5–1 ml; jawline 1–3 ml total. |
| Safety is non-negotiable | Confirm GMC/NMC registration, hyaluronidase on site, and written consent before treatment. |
| Stage larger changes | Spreading volume across two or more sessions reduces overcorrection and improves symmetry. |
| Nexgen Clinic | Offers AI-assisted assessments and medically led staged plans focused on natural outcomes. |
Table of Contents
- How is filler volume measured, and what does 0.5 ml or 1 ml actually look like?
- What are the typical filler amounts needed for each facial area?
- What factors change how much filler an individual needs?
- How do you recognise too much filler, and how do you stay natural?
- What are the safety risks and UK regulations you need to know?
- How long does filler last, and what does it cost in the UK?
- How should you plan a staged treatment and what should you ask at consultation?
- What happens during a typical filler treatment session?
- The case for conservative dosing, every time
- Nexgen Clinic's approach to safe, personalised filler treatment
- Sources
- FAQ
How is filler volume measured, and what does 0.5 ml or 1 ml actually look like?
Dermal fillers are supplied as sterile gel in prefilled syringes, most commonly in 1 ml (1 cc) units. That is the standard clinical unit you will see quoted on treatment menus. Half a syringe is 0.5 ml; two syringes is 2 ml.
To picture 1 ml: it is roughly the volume of a small almond, or about one-fifth of a teaspoon. That sounds modest, and in many areas it is. Placed precisely under the skin, 1 ml of a firm, cohesive hyaluronic acid gel can produce a visible lift in the cheek or a clear definition along the jawline. The same volume spread across the lips produces a subtle, natural plump rather than a dramatic change.
A few points that affect how much visible change you actually see:
- Product viscosity: Thicker, higher-G-prime gels provide more structural lift per ml than softer gels designed for fine lines.
- Injection plane: Product placed deep against bone creates a different effect from the same volume placed superficially in the dermis.
- Anatomy: Someone with strong underlying bone structure needs less product to achieve the same surface projection as someone with significant bone resorption.
Clinicians commonly work in 0.5 ml increments, distributing product across multiple injection points rather than depositing the full volume in one location. This technique improves symmetry and reduces the risk of visible lumps.
What are the typical filler amounts needed for each facial area?
The table below reflects conservative clinical practice. Volumes at the lower end suit first-time patients or those wanting a subtle refresh; the upper end applies to patients with significant volume loss or those seeking more structural change, usually across more than one session.
| Area | Typical range | What to expect |
|---|---|---|
| Lips | 0.5–1 ml | 0.5 ml adds subtle definition; 1 ml gives fuller projection |
| Tear troughs | 0.5–1 ml total | Softens hollows under the eyes; small volumes only |
| Cheeks | 1–3 ml (both sides) | Restores mid-face volume and lift |
| Nasolabial folds | 0.5–1.5 ml | Softens lines without flattening the face |
| Temples | 0.5–1 ml per side | Addresses hollowing and restores facial oval |
| Chin | 0.5–1 ml | Improves projection and lower-face balance |
| Jawline | 1–3 ml total | Defines the angle and sharpens contour |
| Nose | 0.5–1 ml | Subtle reshaping only; high-risk area |
Per common clinical guidance, tear troughs and lips sit at the conservative end of the dosing spectrum, while cheeks and jawline often require more product to achieve a meaningful structural result.
- A subtle lip boost: 0.5 ml, placed in the body of the lip with minimal border definition.
- A fuller, more defined lip: 1 ml or slightly above, usually across two sessions.
- Cheek restoration after significant volume loss: 2–3 ml spread across both sides, often staged over two appointments.
Pro Tip: For natural lip enhancement, splitting your total lip volume across two sessions four to six weeks apart gives your practitioner the chance to refine symmetry once initial swelling has settled.
What factors change how much filler an individual needs?
Two patients with identical goals can require very different volumes. The variables below explain why dosing is always personalised rather than formulaic.
- Skeletal structure: Strong cheekbones and a well-defined jaw need less product to achieve the same surface result as a face with flatter underlying architecture.
- Age and volume loss: Facial fat compartments thin with age, and bone resorbs over time. Older patients with mid-face volume loss typically need more product to restore structure than younger patients seeking subtle augmentation.
- Skin thickness and elasticity: Thinner, less elastic skin shows product more readily, which can mean less is needed but also that placement must be more precise.
- Previous treatments: Scar tissue from prior injections or residual filler from earlier treatments changes how new product distributes and integrates.
- Filler rheology: The physical properties of the product (its stiffness, elasticity, and cohesivity) determine how much bulk is needed to produce a given lift. A high-G-prime cheek filler may achieve the same result at 1 ml that a softer product achieves at 1.5 ml.
- Desired outcome: A subtle refresh requires far less volume than a structural change. Patients who want to maintain their natural proportions rather than alter them consistently need less product.
A younger patient with thin skin seeking minor lip definition may need just 0.5 ml placed conservatively. An older patient with significant mid-face hollowing may need 2–3 ml across the cheeks and temples to restore a rested, balanced appearance. Both outcomes are valid; the volumes are simply different because the clinical problem is different.
How do you recognise too much filler, and how do you stay natural?
Overfilling is one of the most common complaints in aesthetic medicine, and it is almost always the result of adding too much volume too quickly. The signs are recognisable:
- Loss of facial harmony: features that look disproportionate or "heavy."
- Persistent puffiness that does not resolve after the initial post-treatment period.
- Distortion of natural expressions, particularly around the lips or cheeks.
- Unnatural projection or a "pillow face" appearance.
- Visible or palpable lumps, especially in the lips or tear troughs.
The rules that prevent overfilling are straightforward:
- Start with the minimum effective volume.
- Treat one or two areas per session, not the whole face at once.
- Wait at least four weeks before assessing whether more is needed.
- Prioritise symmetry over volume at every stage.
Conservative before-and-after photographs are one of the most reliable indicators of a practitioner's philosophy. Look for results that make a patient look refreshed rather than altered. If a clinic's gallery shows dramatic transformations rather than subtle improvements, that is a meaningful signal about their approach to dosing.
What are the safety risks and UK regulations you need to know?
Safety in filler treatment depends on three non-negotiables: a medical consultation with a qualified practitioner, access to hyaluronidase on site, and a clear emergency escalation plan. Without all three, the risk profile of the procedure changes significantly.
MHRA adverse event data covering 2019–2021 record reported complications including infection, allergic reactions, and embolism. Vascular occlusion, where filler inadvertently enters a blood vessel, is rare but can cause tissue necrosis or, in the most severe cases, vision loss. High-risk zones include the nose, glabella, forehead, and lips. A trained practitioner recognises the early signs and administers hyaluronidase immediately.
The UK regulatory position is tightening. The government has announced plans for stricter local licensing of clinics administering fillers and Botox, prioritising high-risk procedures for tighter controls. Checking whether a clinic holds the relevant local licence is increasingly part of due diligence for patients.
The JCCP and CPSA code of practice sets baseline expectations: clear pricing, informed written consent, honest advertising, and adherence to GMC consent guidance where relevant.
Safety checklist for your consultation:
- Confirm the practitioner's qualification and GMC or NMC registration number (check it on the GMC register).
- Ask whether hyaluronidase is held on site and whether the practitioner is trained to administer it.
- Request written consent documentation and read it before signing.
- Confirm the follow-up policy and who to contact if you have concerns after treatment.
- Ask about the clinic's CQC registration status for higher-risk procedures.
Safety note: Dermal filler treatment is a medical procedure. A face-to-face consultation, full medical history review, and access to emergency reversal agents are not optional extras — they are baseline requirements for safe practice.
How long does filler last, and what does it cost in the UK?
Most hyaluronic acid fillers last several months, with duration varying by product type, treatment area, and individual metabolism. Lips tend to break down product faster than cheeks or temples, often needing more frequent top-ups. Deeper placements in cheeks or jawline typically last longer.
UK pricing varies considerably. A market review of UK clinic menus confirms that central London clinics typically charge more per ml than regional towns, with practitioner seniority and product brand also affecting the final cost. As a general guide, expect to pay more at a medically led clinic with a senior injector than at a beauty salon offering the same treatment.
Factors that affect the total cost of your treatment:
- Consultation fee: Many reputable clinics charge separately for the initial medical assessment.
- Number of syringes: Each additional ml adds to the cost; staged treatments spread this across sessions.
- Product brand: Premium hyaluronic acid products carry a higher wholesale cost, which is reflected in treatment pricing.
- Practitioner seniority: A doctor or nurse prescriber with specialist training commands a higher fee than a less experienced injector.
- Geography: Cambridge, London, and other major cities typically sit at the higher end of the pricing range.
- Dissolving agent fees: If hyaluronidase is needed to correct a result, this is usually charged separately.
How should you plan a staged treatment and what should you ask at consultation?
A well-planned treatment starts before you walk into the clinic.
- Research your practitioner's qualifications and verify their GMC or NMC registration.
- Book a medical consultation, not just a treatment appointment.
- Discuss your goals clearly and ask about alternatives, including whether a non-filler approach might suit your concern.
- Plan staged sessions: address one or two areas first, assess after four weeks, then decide on further treatment.
- Agree a realistic timeline. Significant structural changes across multiple areas may take two or three sessions spread over three to six months.
Questions to ask your practitioner:
- What qualifications do you hold, and are you registered with the GMC or NMC?
- Do you hold hyaluronidase on site, and are you trained to manage vascular complications?
- How many ml do you recommend for my concern, and why?
- What does the aftercare process involve, and who do I contact if I have a problem?
- Can I see before-and-after photographs of patients with similar concerns?
- What is your policy if I am unhappy with the result?
For jawline and chin treatments in particular, a staged approach across two sessions is standard practice, as these areas benefit from assessing tissue response before adding further volume.
What happens during a typical filler treatment session?
A standard session begins with a medical review: your practitioner checks your medical history, confirms there are no contraindications, and discusses the agreed plan. This takes 10–15 minutes for a returning patient and longer for a first appointment.
Topical anaesthetic cream is applied to the treatment area and left for 20–30 minutes. Many filler products also contain lidocaine, which reduces discomfort during injection. The injection itself is brief. A single-area treatment such as lips or tear troughs typically takes 15–20 minutes; a multi-area session may run to 45–60 minutes.
After treatment, you can expect some redness, swelling, and mild bruising, particularly around the lips and under-eye area. Most patients return to normal activities the same day. Swelling peaks at 24–48 hours and settles over the following week. The final result is best assessed at two weeks, which is why a follow-up appointment at that point is standard practice at well-run clinics. Post-treatment, gentle skincare matters. Hyaluronic acid eye patches can help manage transient puffiness around the eye area in the days following tear trough treatment.
The case for conservative dosing, every time
The most common regret in aesthetic medicine is not "I wish I'd had more." It is the opposite. Patients who feel their results look unnatural almost always received too much product too quickly, often because they were not guided towards a staged plan or because the consultation was too brief to establish realistic expectations.
Conservative dosing is not a compromise. It is the approach that produces the most durable, most natural, and most satisfying results over time. A 0.5 ml lip treatment that looks right for two years is a better clinical outcome than 2 ml that requires dissolving at six months. The same logic applies to every area of the face. Volume is not the goal; proportion is.
Nexgen Clinic's approach to safe, personalised filler treatment
Nexgen Clinic's medically led model starts where every safe filler treatment should: a thorough face-to-face consultation that uses AI-assisted skin analysis to map your facial anatomy before a single ml is planned. That diagnostic step means dosing decisions are grounded in your actual bone structure, skin quality, and volume loss pattern, not a generic menu.
What that means in practice for you:
- Medical consultation with a qualified clinician before any treatment is agreed.
- Hyaluronidase available on site for every injectable appointment.
- GMC and NMC-aligned practitioners with documented training in complication management.
- Staged treatment plans that build results gradually, protecting natural proportions.
- Clear aftercare guidance and a named point of contact if you have concerns post-treatment.
Nexgen Clinic's dermal filler treatments are designed for patients who want results that look like themselves, only rested. Book a consultation to discuss your goals and receive a personalised dosing plan.
Sources
This article is general information, not a substitute for advice from a qualified doctor. Consult a qualified healthcare professional about your own circumstances before acting on anything here.
FAQ
Is 2.5 ml of filler a lot?
For a single area, 2 to 3 ml is on the higher end and would typically be spread across two sessions rather than administered at once. Across multiple areas (cheeks and jawline combined, for example), that total is within normal clinical range.
Is 0.5 ml of filler worth it?
Yes, particularly for lips, tear troughs, and fine-line areas. Half a ml placed precisely by a skilled injector produces a visible, natural result and is the recommended starting volume for most first-time patients.
What will 1 ml of filler do?
One ml is the standard syringe unit and is sufficient for a meaningful result in most single areas: a clear lip enhancement, a noticeable cheek lift on one side, or softening of nasolabial folds. It is roughly the volume of a small almond.
How much do fillers cost in the UK?
Pricing varies by location, practitioner seniority, and product brand. Central London clinics typically charge more per ml than regional towns. A medical consultation fee is often charged separately from the treatment cost.
How do I verify a filler practitioner's credentials in the UK?
Check the practitioner's GMC or NMC registration number on the relevant public register. Ask whether the clinic holds local authority licensing for high-risk cosmetic procedures, and confirm that the practitioner is trained in complication management including hyaluronidase administration.
Recommended
- Lip Fillers Cambridge: Achieve Natural-Looking Results
- Expert Guide to Dermal Fillers in Cambridge
- Tear Trough Filler Cambridge - NexGen Clinic
- Cheek Filler Cambridge | Enhance Your Facial Contours
Explore related NexGen treatments
- Explore our full treatment menu
- Book a consultation with our clinicians
- Contact our Cambridge team
- Read more articles in the NexGen Journal
Ready to explore your options?
Speak with a NexGen clinician for a personalised consultation. We’ll listen, assess, and recommend the safest and most effective route — always led by evidence, always tailored to you.
Book a consultation or get in touch with our Cambridge team.